Step 4: Auto Import Jupyter Notebooks as Blog Posts
Are you a data professional or researcher working with Jupyter Notebooks?
If so, you may be interested in this guide to blog from Jupyter Notebooks too. Otherwise, you can skip this step.
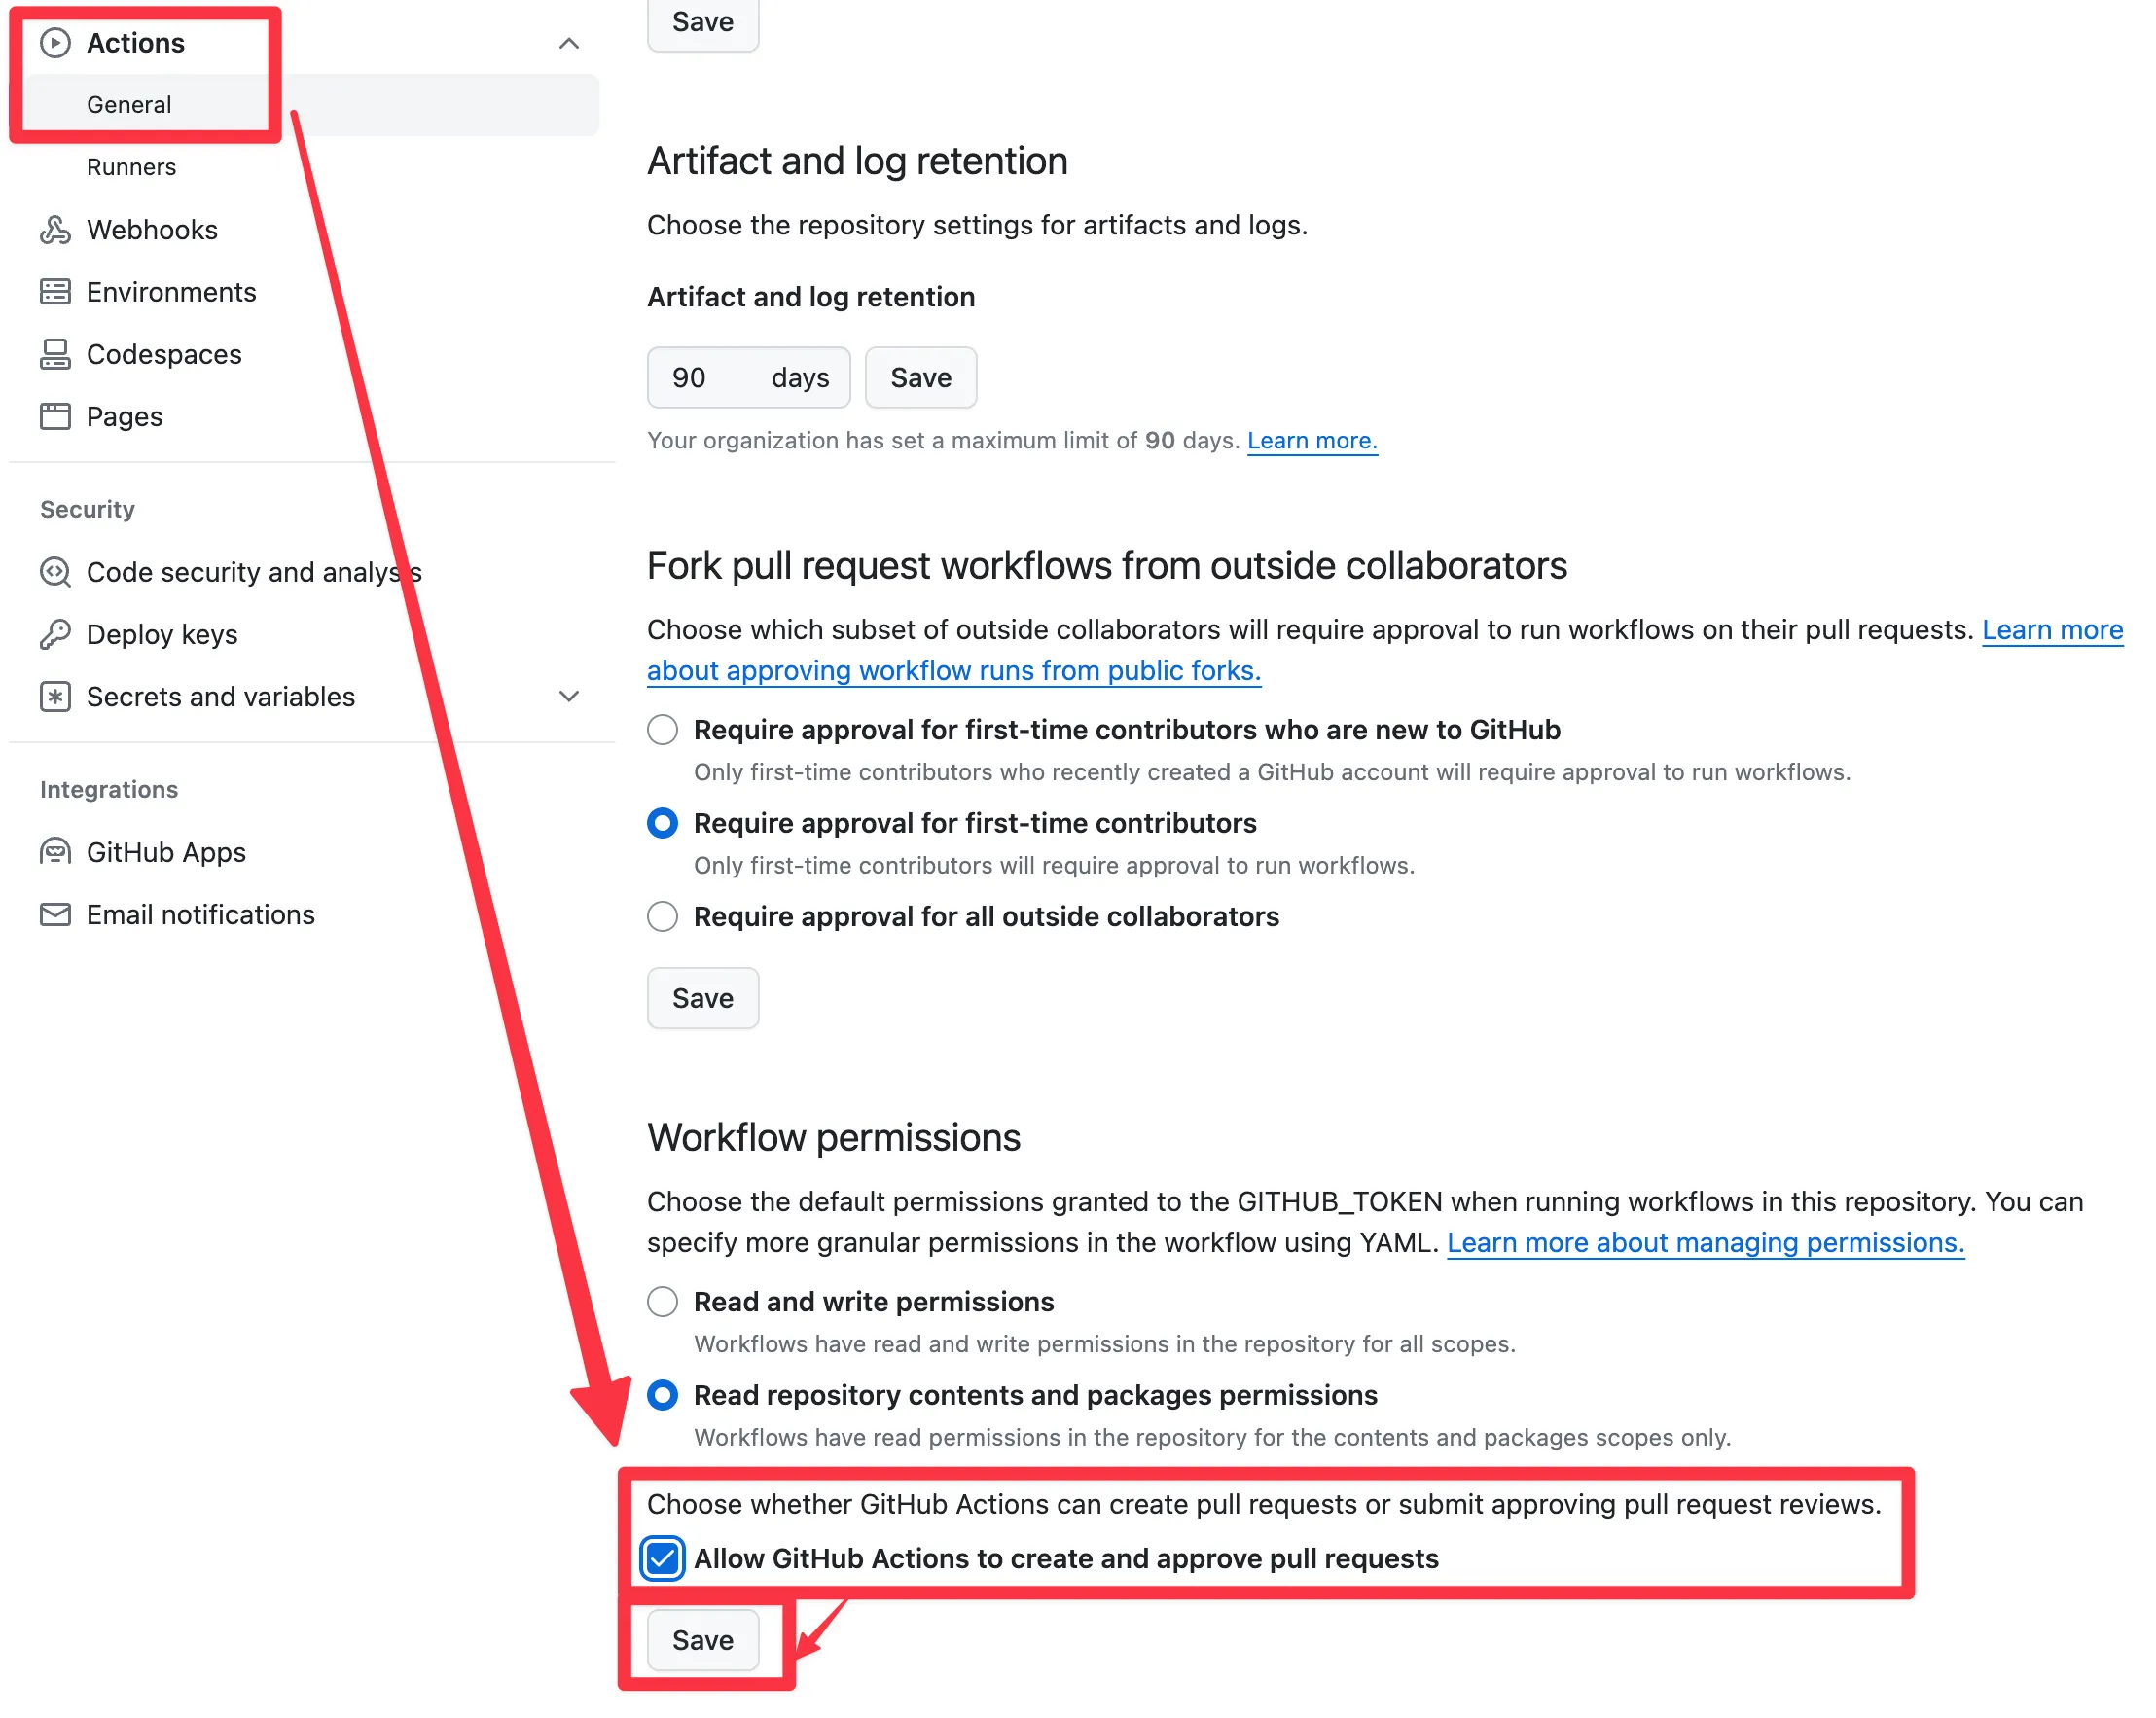
- In your GitHub repository, click the Settings tab at the top of the page, click Actions > General in the left menu, choose Allow and click Save
- Click the
notebooksfolder in your GitHub repository: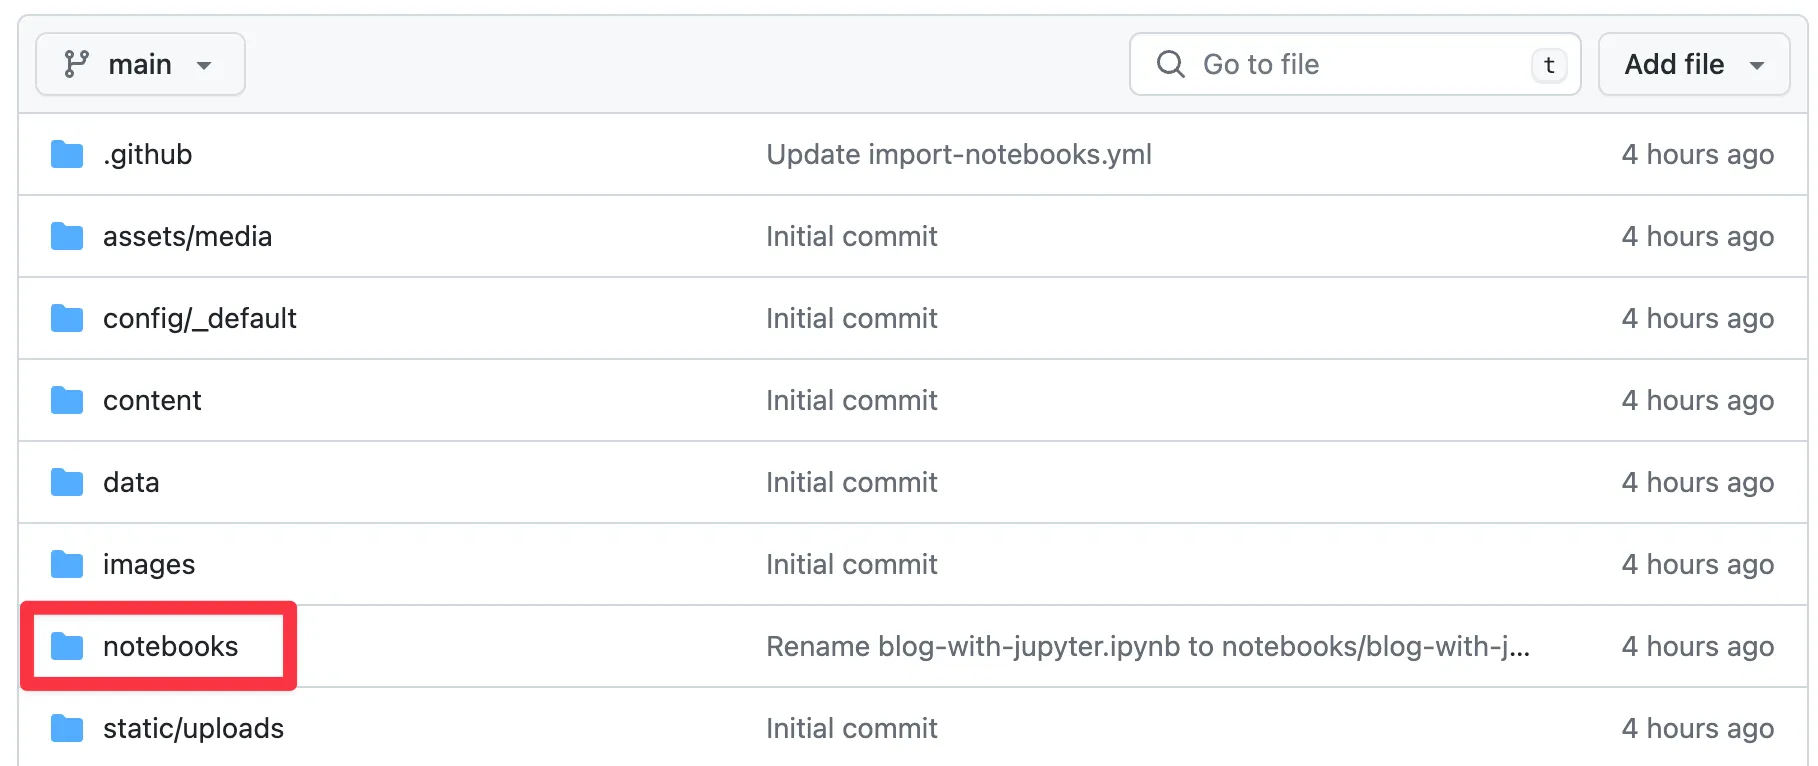
- Within the
notebooksfolder, click Add File > Upload Files: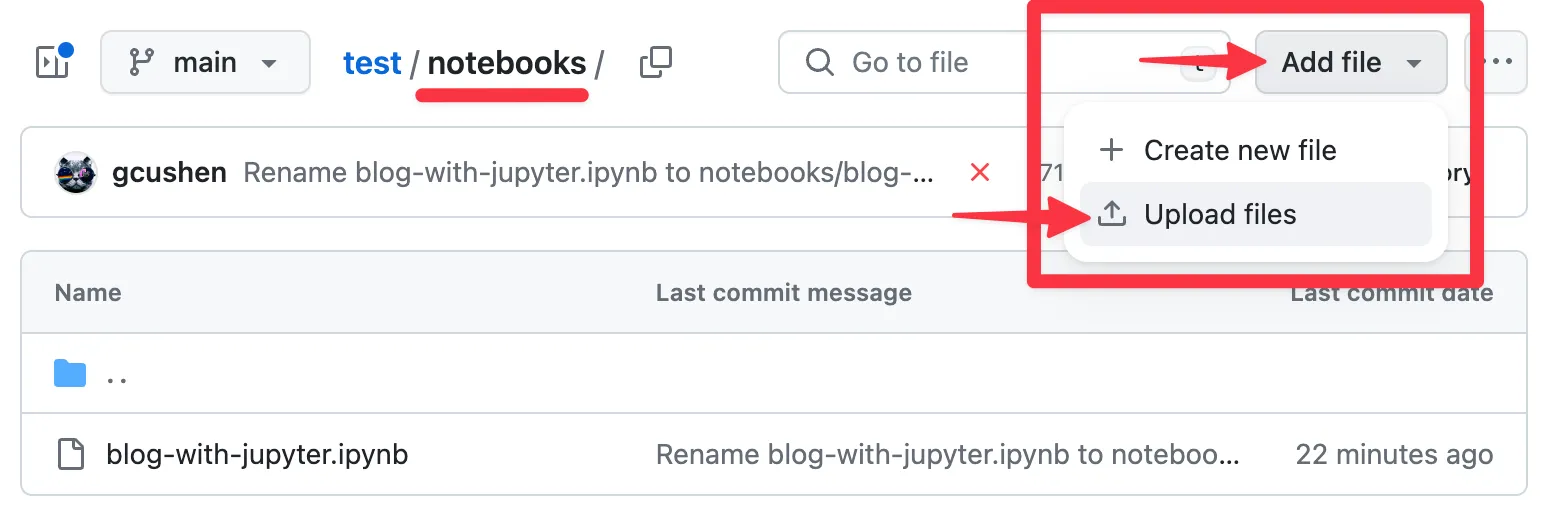
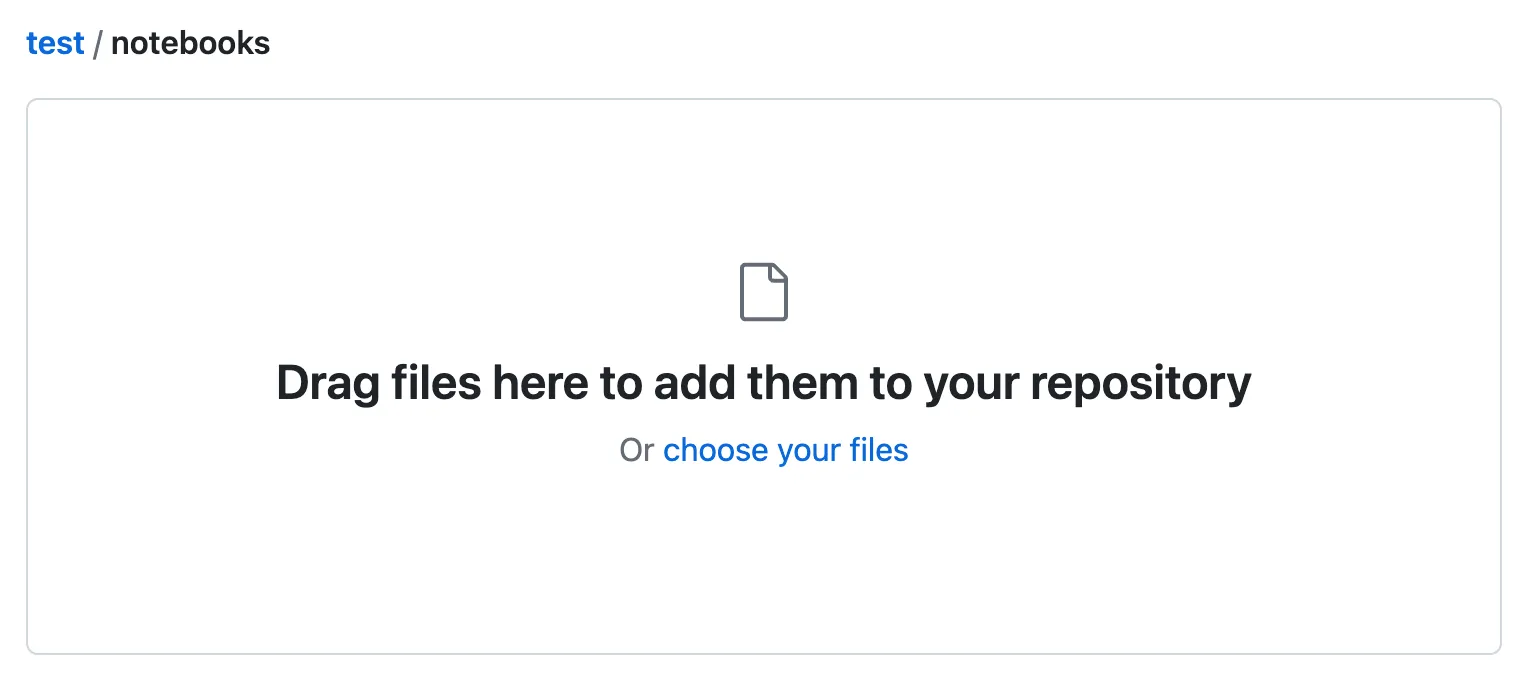
- Drag and drop your Jupyter Notebook files from your computer:
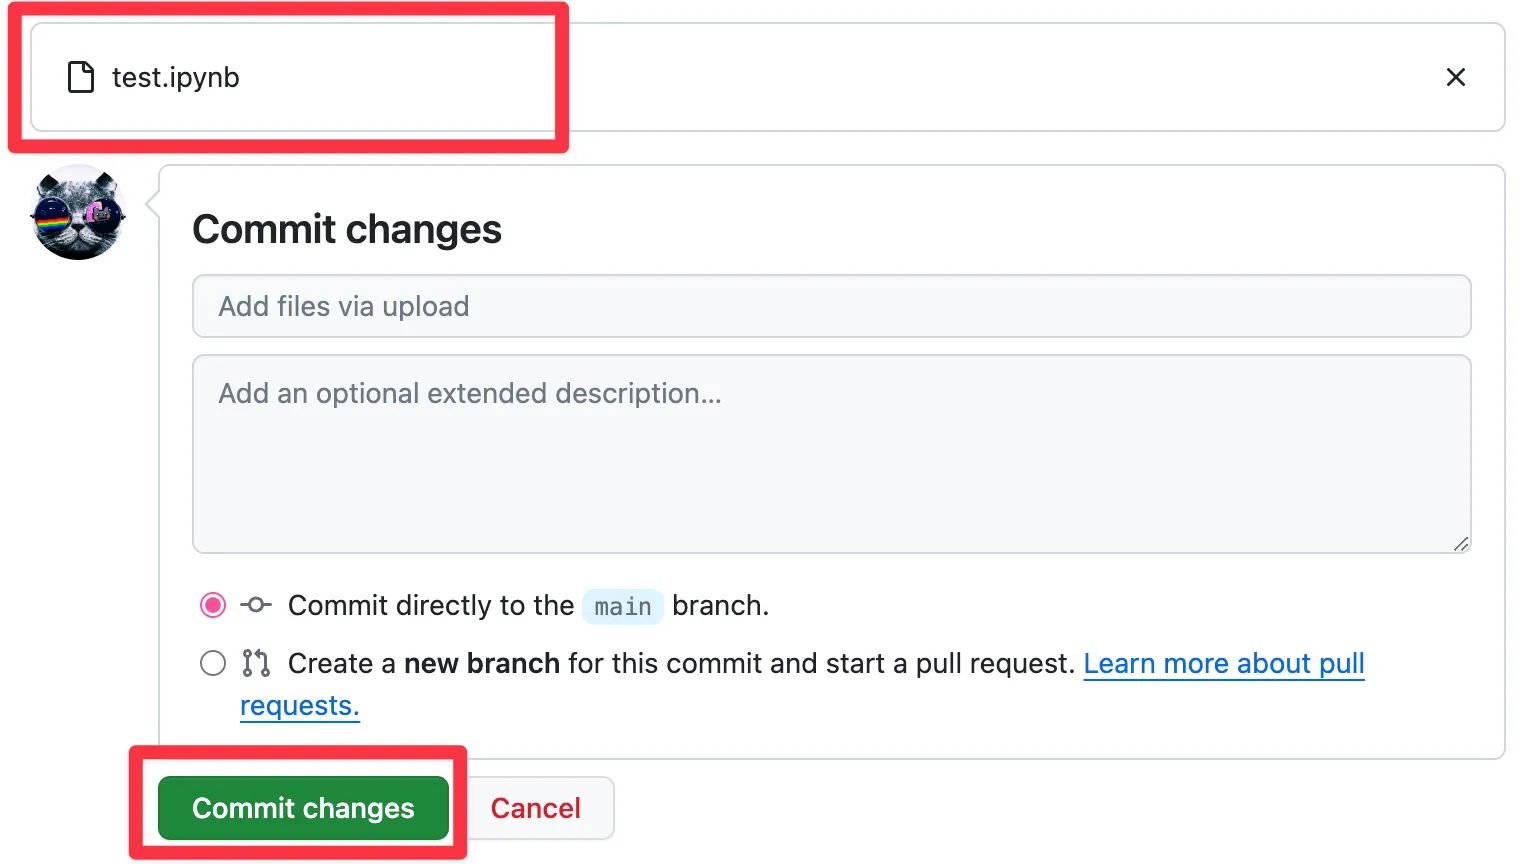
- Click Commit Changes to upload the notebook file(s):
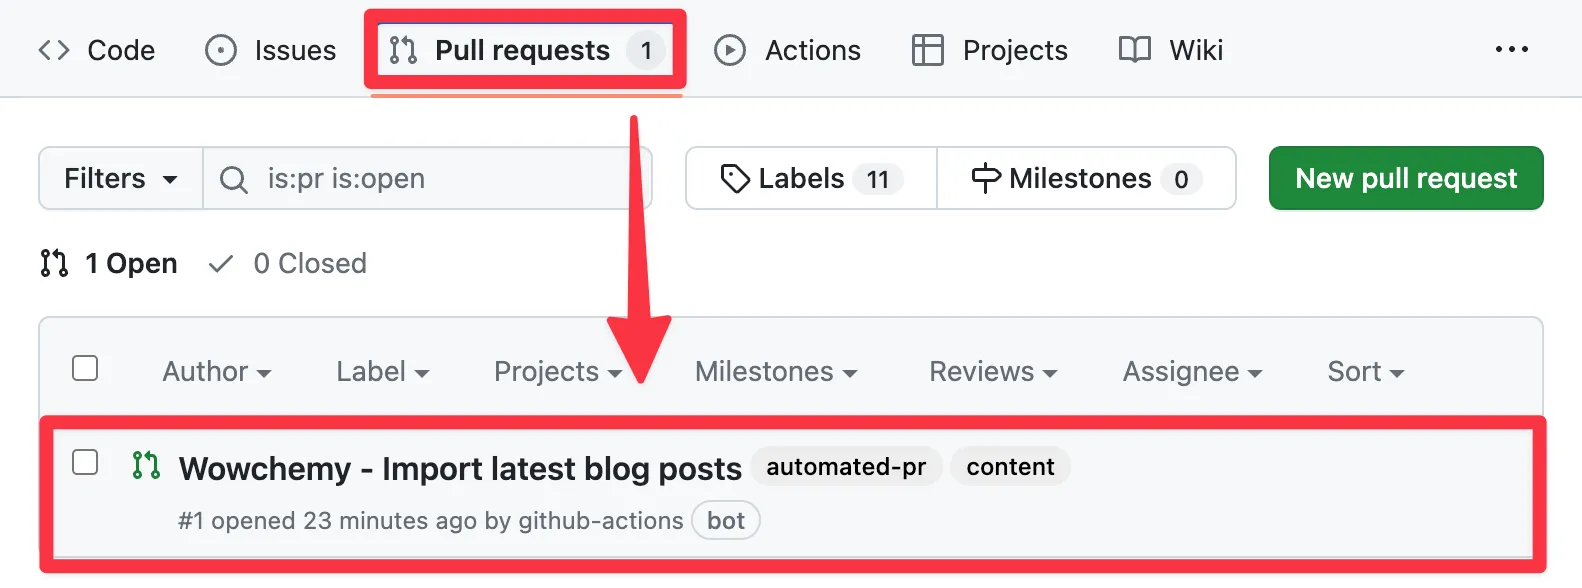
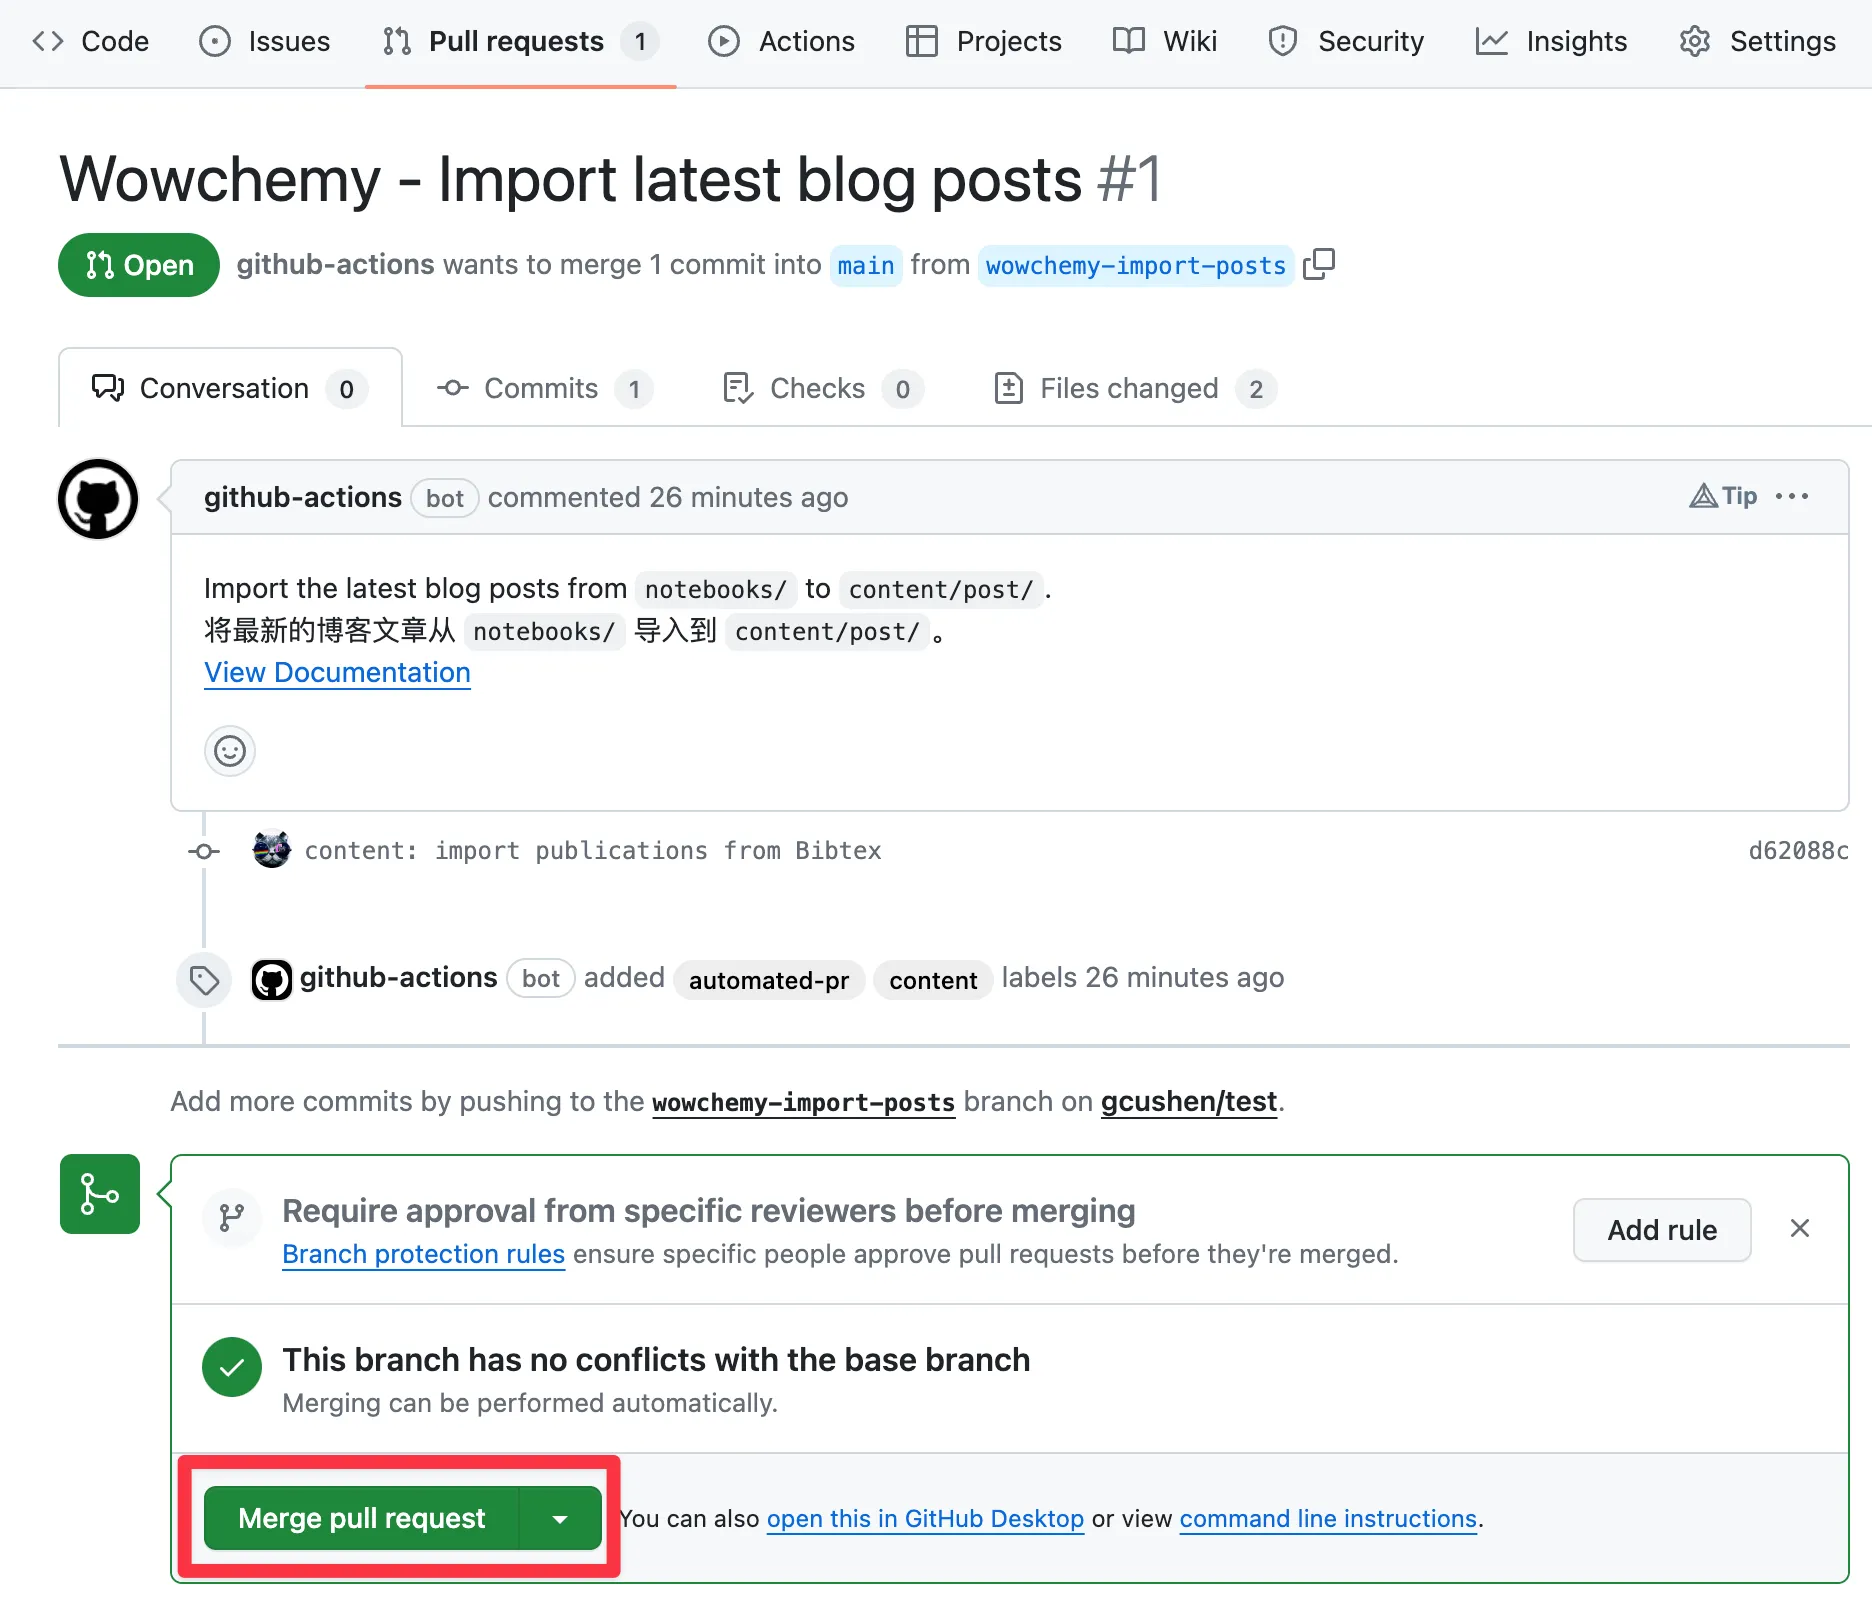
- GitHub will now import your Jupyter Notebooks as blog posts. Within a minute or two, GitHub will create a Pull Request for you to review the changes:
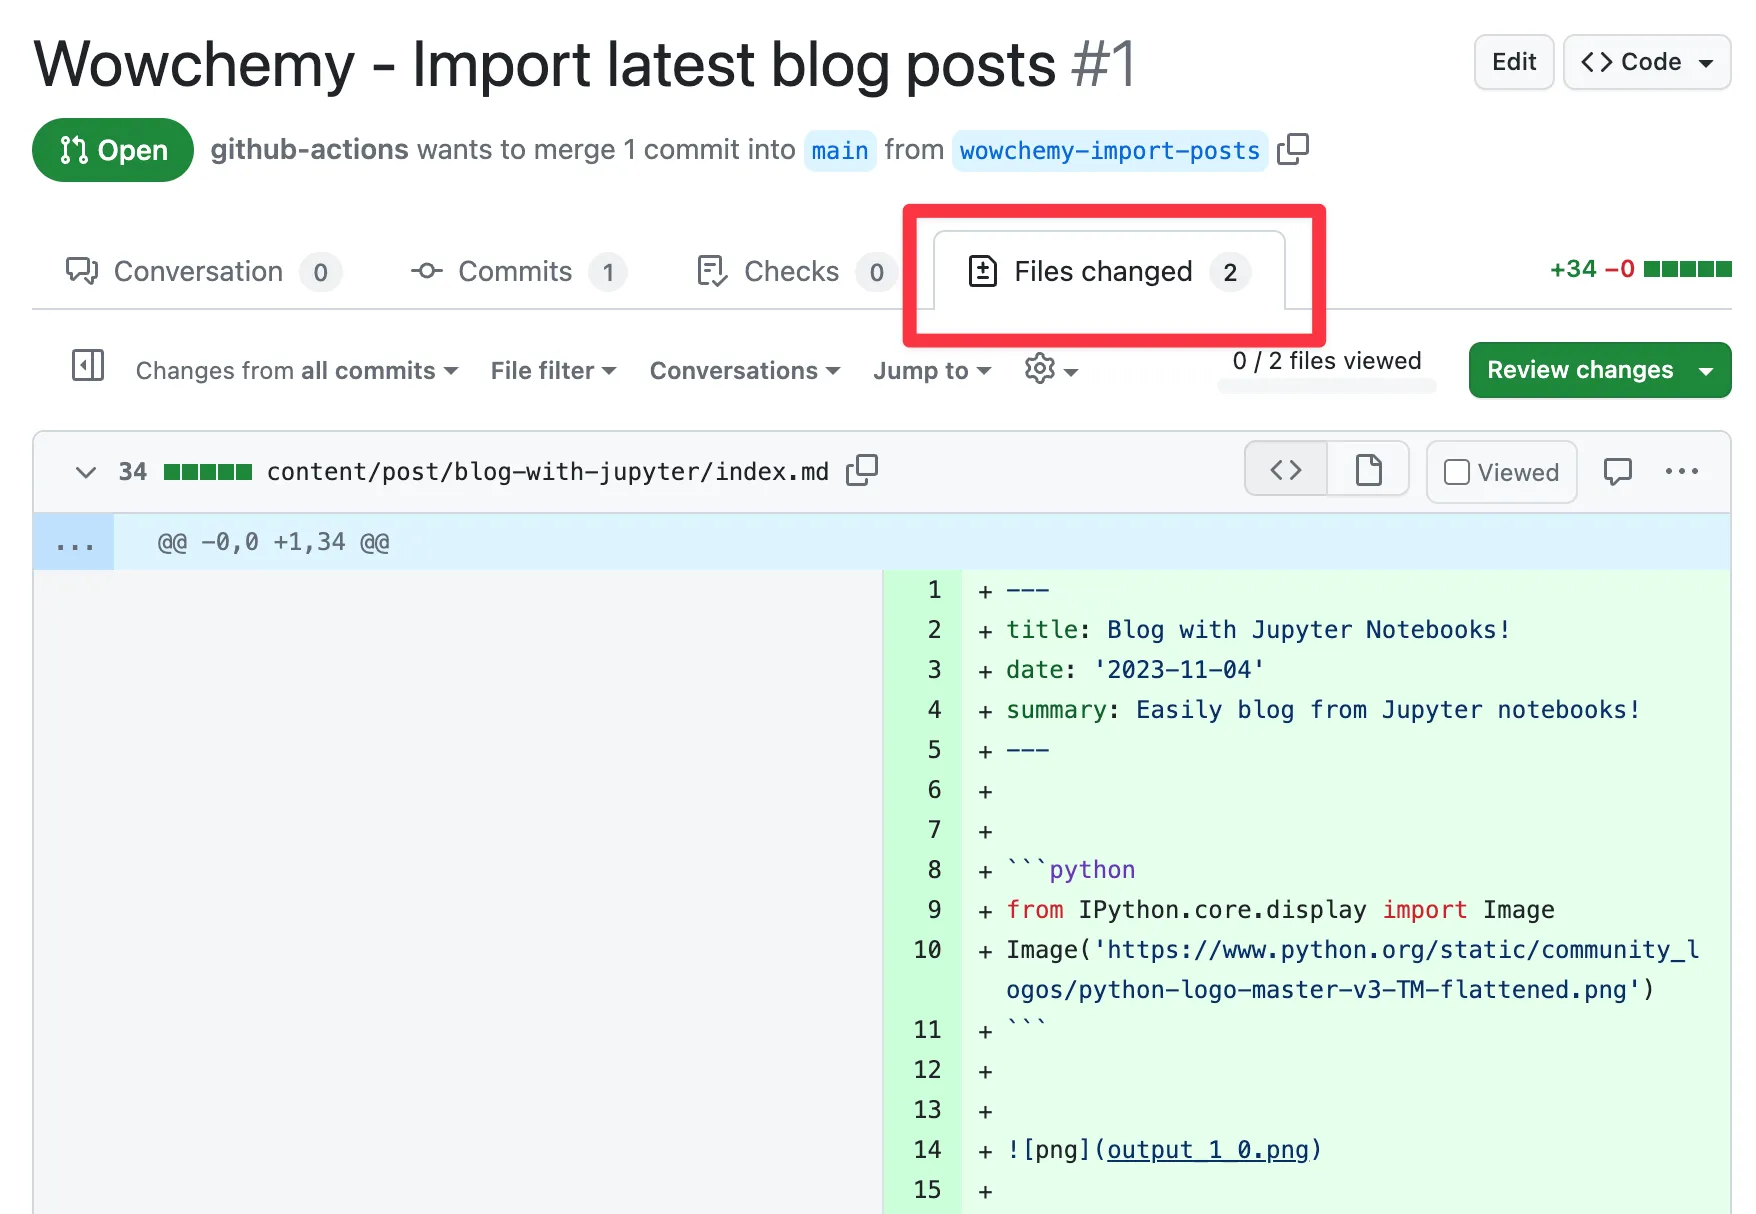
- You can review the changes:
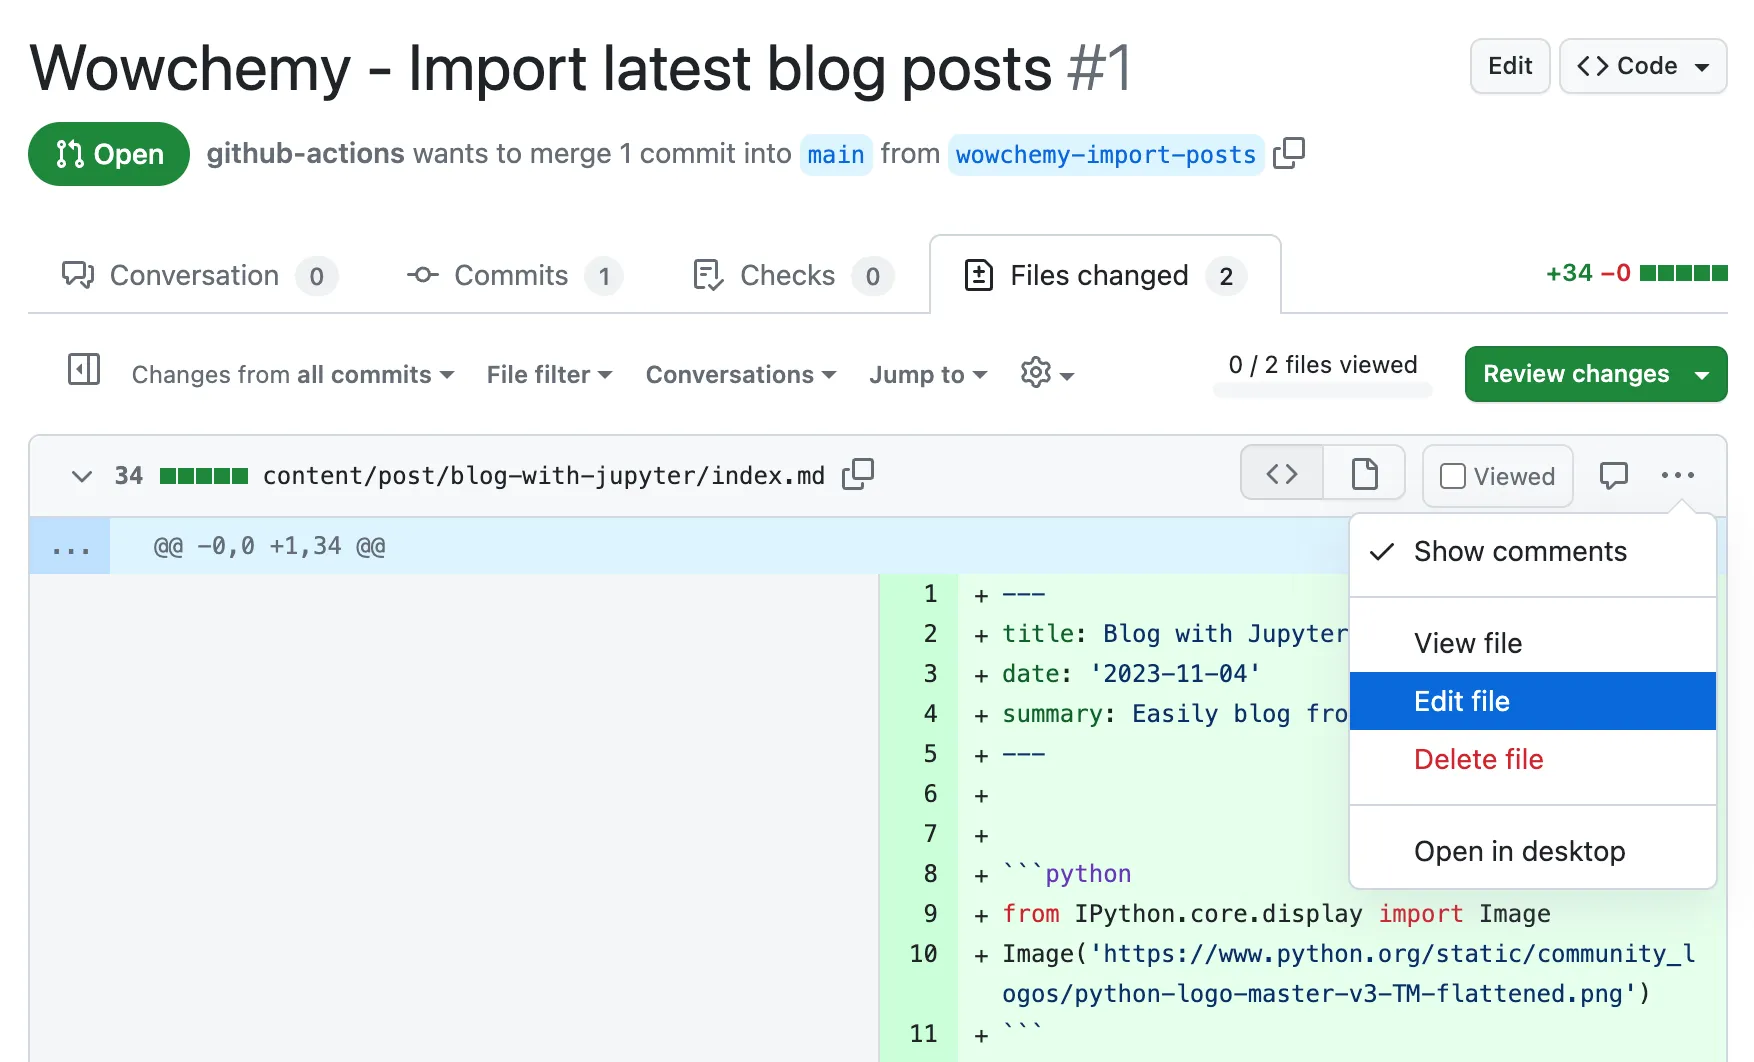
- If you want to edit the posts, click Edit File, otherwise skip to the next step:
- Once you are happy with the changes, click Merge and then Confirm Merge:
In a few minutes, your website should automatically update to display the new blog posts.
Want to enrich your blog posts? There are many options to customize blog posts such as adding a cover image. View the Page Features guide.